QR code for birthday party photos: a host's guide
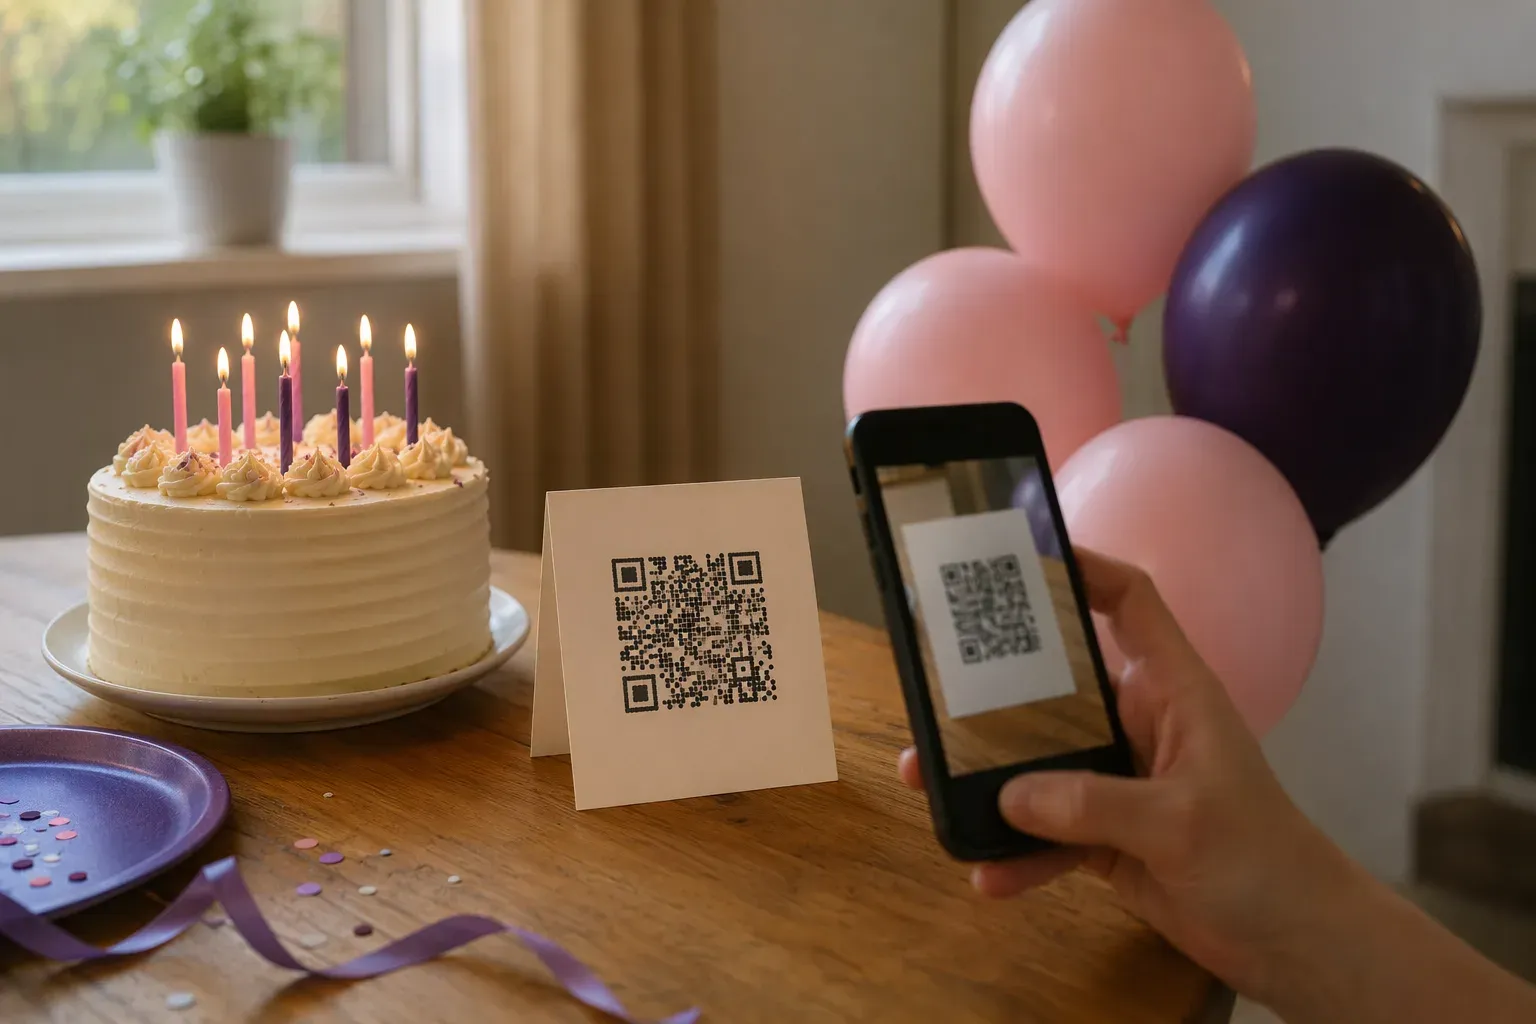
A birthday party produces photos from every direction: the cake, the speeches, the dance floor, the quiet moments in the kitchen. Almost none of them end up on your phone. They sit on twenty other phones, and getting them back means a lot of "can you send me that one?"
A QR code gives guests one easy way to share, and gives you one place to keep everything. Here is how to set it up for a birthday, whether it's a first birthday, a 40th or a surprise party.
How a QR code for birthday party photos works
The idea is simple. You have one event gallery with its own link and QR code. Guests do this:
- Point their phone camera at the code.
- The gallery opens in their browser. No app to download, no account to create.
- They pick photos, videos or audio from their phone and upload.
- Everything appears in the gallery, which you can revisit and keep after the party.
That's the whole guest experience. It matters because at a party, people won't stop to install something. If it takes more than a few seconds, it doesn't happen.
Where to put the QR code at a birthday party
Put the code where guests are already looking or sitting:
- On the food table or next to the cake. Everyone passes it.
- On a small card at each table, if it's a sit-down party.
- On the invitation or a group message, so guests can upload afterwards too.
- Near the entrance or the drinks. Add one line: "Scan to share your photos and videos from the party."
- On a screen or TV, if you have one, for part of the evening.
Say it out loud once as well. A short "photos from tonight go in here, just scan the card" while the cake comes out is often what makes people remember.
What to put in the gallery
A good birthday gallery has a name and a look that fit the person. Add the guest of honour's name, the date and a short welcome line. Decide whether you want videos and audio too: a recorded birthday message from someone who couldn't come is a lovely addition.
Test the code before guests arrive
This is the step people skip. Before the party:
- Scan the code on two or three different phones, ideally including an older one
- Upload a test photo and a short video
- Check the name and details on the gallery look right
- Print the code large enough to scan from a normal arm's length, with some white space around it
Doing it yourself, or having it built for you
ShareThisMemory is built for this. With an Assisted Event, you tell us about the party and our team builds your branded gallery and QR code, then tests it before it's sent to you. Builds are ready in 24 to 48 hours, and a rush build under 24 hours is available if the party is close. One event starts from $39. If you'd like print-ready cards, a QR card artwork pack is available for $49, and you can add 12 more months online from $29.
We can't promise how many guests will upload, because that depends on your guests. What we can do is make sure the way in is clear and works before the day.
Planning a work event instead?
The same flow suits a team party, a launch or a company evening: one code, no apps, one gallery. The main change is where the code goes (registration desk, screens, programme) and who tests it. The wedding guide covers placement in more detail, and venue teams can read ideas for recurring events.
Birthday checklist
- Choose two or three places for the QR code
- Add one clear line of instruction beside it
- Test it on more than one phone
- Mention it once during the party
- Decide how long to keep the gallery online
Ready to set one up? Start at ShareThisMemory.